
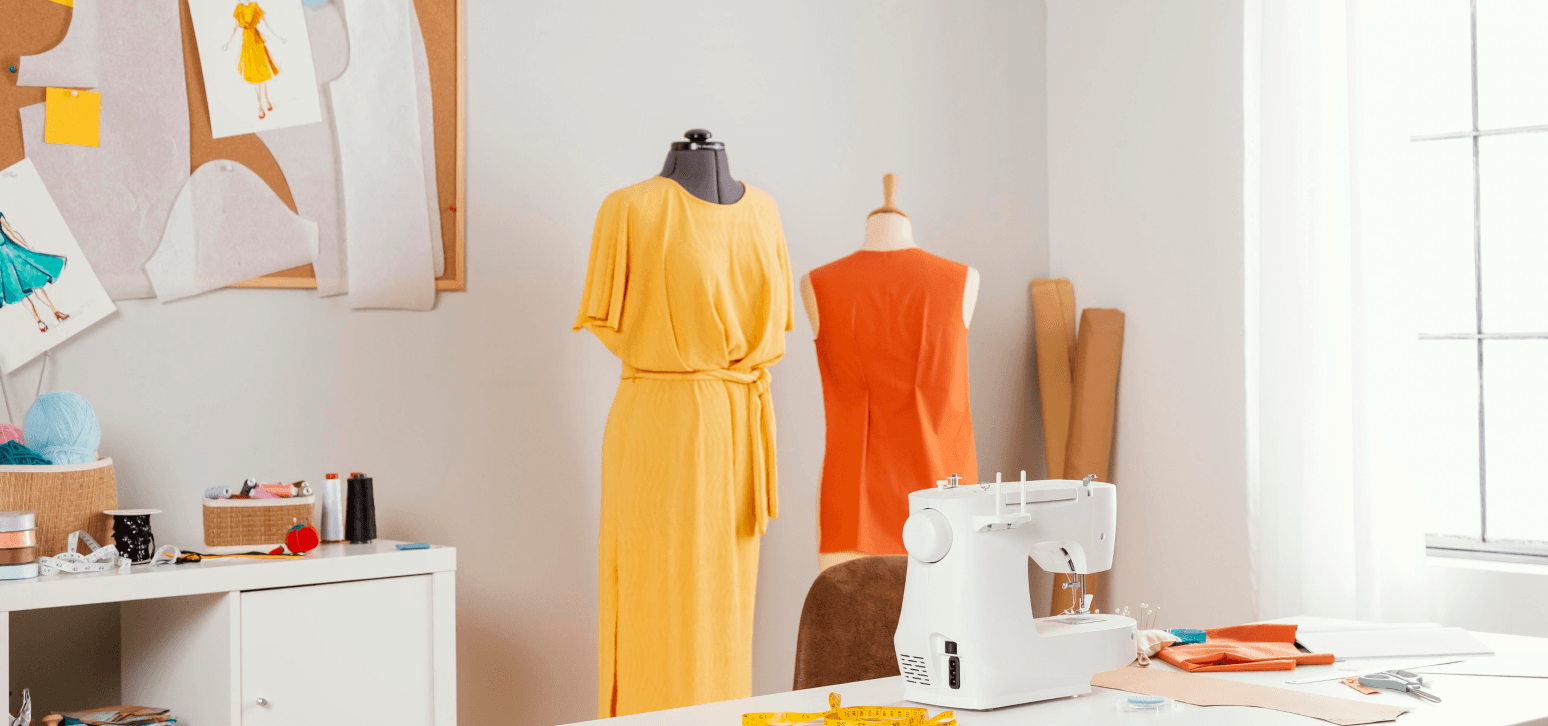
The ten steps at a glance
Starting a clothing brand is less about one big launch and more about a sequence of small, reversible decisions. These ten steps fall into four phases: plan, develop, produce and launch.
Ten steps in four phases
Plan
- 1Choose a niche and customer
- 2Decide how to make the clothes
- 3Write a plan and budget
- 4Register the business and name
Develop
- 5Design the range and tech packs
- 6Find and vet a manufacturer
- 7Sample until it is right
Produce
- 8Labels, compliance and packaging
- 9Order a small first run
Launch
- 10Launch, learn and reorder
Step 1: Choose your niche and customer
A clothing brand that tries to sell to everyone competes with everyone. Start with one specific customer and a reason for them to choose you: a fit nobody gets right, a community you belong to, a style or a price point that is missing.
- Who is the customer, and where do they already shop?
- What do they wear now, and what frustrates them about it?
- What will you charge, and does that leave room for a profit after making and shipping the product?
- Which three brands would they compare you with, and how are you different?
Write the answers down in a few sentences. They become the brief for every later decision, from fabric to photography.
Step 2: Decide how you will make the clothes
There are three common routes. They differ in how much cash you put in up front and how much control you have over the product.
Three ways to make your first collection
Print on demand
- Typical minimum
- 1 piece
- Upfront cash
- Lowest
- Design control
- Low: stock blanks, your print
- Price per piece
- Highest
Decorated blanks
- Typical minimum
- Often 12–50 per design
- Upfront cash
- Low
- Design control
- Medium: your branding on a stock garment
- Price per piece
- Medium
Cut and sew
- Typical minimum
- Often 50–300 per style
- Upfront cash
- Higher
- Design control
- High: your pattern, fabric and labels
- Price per piece
- Lowest at volume
Cut and sew means your own pattern, fit, fabric and labels, which is what makes a product genuinely yours. Small-batch manufacturers now make it possible with modest first runs: our minimum is typically 50 pieces per item. Our guide to what MOQ means explains how order size changes the price per piece.
Step 3: Write a simple business plan and budget
A clothing brand business plan does not need to be long. It needs to show that each product can make money and that you can afford to get to launch. Cover these parts (our clothing brand business plan guide goes through each one with a worked example):
- Concept and customer: the answers from step 1.
- Range plan: each style, its colors, size range and quantity.
- Costs and pricing: the landed cost of each piece (manufacturing, shipping, duties) and the retail price you will charge.
- Sales channels: your own online store, marketplaces, pop-ups or wholesale to shops.
- Marketing: how customers will find you in the first three months.
- Timeline: from first sample to launch date.
| Cost | What it covers | Tip |
|---|---|---|
| Design and tech packs | Sketches, measurement charts, material specs | Use a template or a freelance tech pack designer |
| Samples | Usually at least a fit sample and a pre-production sample per style | Budget for more than one round |
| Production | Your first run: price per piece multiplied by quantity | Start small and reorder what sells |
| Labels and packaging | Neck labels, care labels, hangtags, polybags | Often ordered alongside production |
| Shipping and duties | Freight to you, customs duty and import taxes | See our country guides for duty rates |
| Photography and website | Product photos, an online store | Shoot on the approved samples before stock arrives |
| Marketing | Content, ads, launch events | Keep some budget for after launch |
To estimate production, multiply the price per piece in your quote by your quantity for each style, then add samples, labels, shipping and duties. Leave a margin for surprises.
Step 4: Register the business and protect the name
- Register the business in the form that suits you, and set up tax registration for sales tax, VAT or GST where you sell.
- Check the brand name in the trademark databases of the countries you plan to sell in, such as the USPTO in the US, the UK Intellectual Property Office, CIPO in Canada, IP Australia and IPONZ in New Zealand.
- Secure the domain and social handles before you announce the name.
This is general guidance, not legal advice; a local accountant or trademark attorney can confirm what applies to you.
Step 5: Design the range and make tech packs
Keep the first range tight: two to four core styles, such as a t-shirt, a hoodie and a pair of joggers, each in one or two colors. Fewer styles mean fewer samples and lower minimums overall.
For each style, prepare a tech pack: flat sketches, a measurement chart, the bill of materials, construction notes, artwork placement and labels. It is the single best way to get the product you imagined. Our tech pack guide includes a free template, and our guide to choosing fabric covers cotton, polyester, blends and fabric weight.
Step 6: Find and vet a manufacturer
Shortlist a few manufacturers whose minimums fit your plan and ask each the same questions, so the quotes are comparable.
- What is the minimum, and is it counted per order, per style or per color?
- How much do samples cost, and how long does each round take?
- How long does bulk production take after sample approval?
- Where will the garments be made, and what does that mean for duty in my market?
- What quality checks happen before shipping?
- Can you make my labels and hangtags, and include the details my market requires?
- What are the payment terms and the shipping terms (for example FOB or DDP)?
Step 7: Sample until it is right
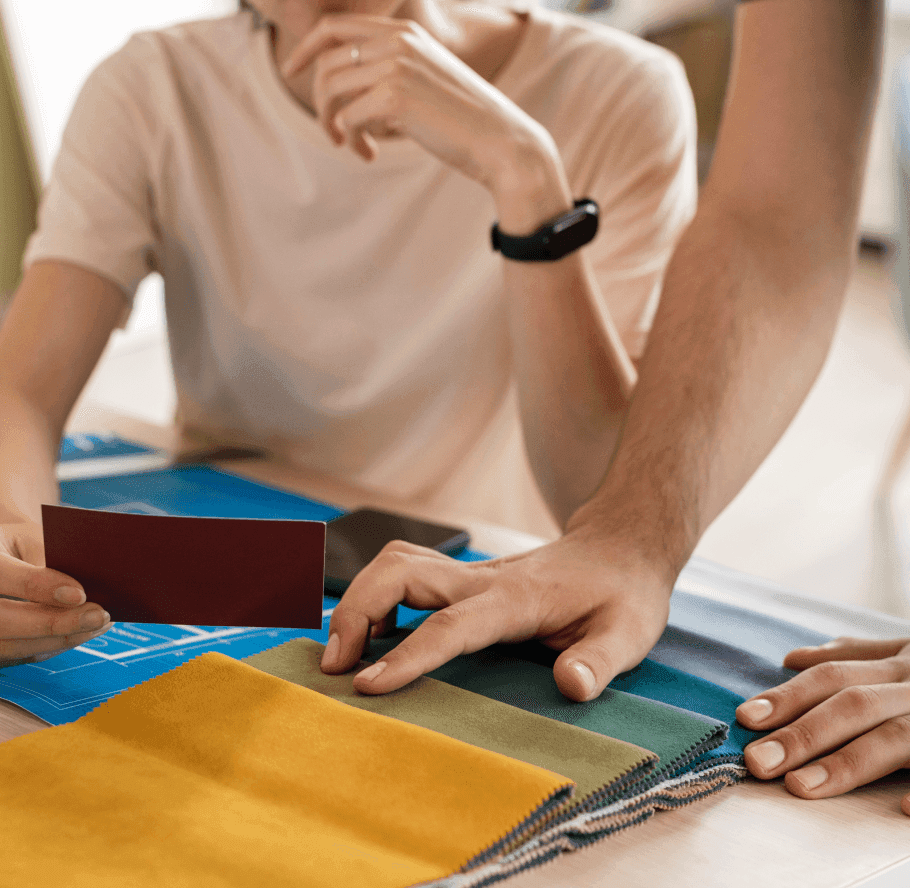
Your first sample shows whether the tech pack was clear. Check the fit on a real person, measure it against your chart, and look at the fabric, stitching, print and labels. Send numbered comments with photos, then review the next round.
Most styles need at least a fit sample and a pre-production sample, which is the final reference for bulk production. At Nevear, a sample round typically takes 2–3 weeks. The tech pack guide explains each sampling stage.
Step 8: Labels, compliance and packaging
Clothing labels are regulated, and the rules differ by country. Put the required details on your labels before production.
| Market | Required on clothing labels | Guide |
|---|---|---|
| US | Fiber content, country of origin, your company name or RN, and a permanent care label | US guide |
| UK | Fibre content in English, using approved fibre names | UK guide |
| Canada | Fibre content in English and French, plus dealer identity | Canada guide |
| Australia | A permanent care label | Australia guide |
| New Zealand | Care, fibre content and country of origin labels | New Zealand guide |
Step 9: Order a small first run
Order a quantity you are confident you can sell in a season, not the quantity that gives the lowest price. Split it across sizes with more in your best-selling middle sizes, and consider taking pre-orders on the approved sample to fund the run.
When the stock arrives, check a selection against the approved sample before it goes on sale: measurements, colors, prints and labels.
Step 10: Launch, learn and reorder
Photograph the product, build your store and plan the launch around your customer: their communities, the creators they follow and the places they already shop. Collect emails before launch so the first day is not your only chance to sell.
After launch, track what sells by style, color and size. Reorder the winners in larger quantities, drop what does not move, and add new styles one or two at a time. Our low MOQ production page explains how small runs work, and bulk production covers scaling up.